Step-by-Step Guide to Configuring a Vite + React + TypeScript Component Library

I want to thank the community for all the love and support shown to my component library template using Vite and React. I appreciate the feedback and recommendations you've shared, and I also thank future developers who use the library!
The purpose of this post is to explain how to set up the component library template. You can find all the library's features in the repo's README file, but I'll highlight the most important ones here.
Vite: Run and build the project blazingly fast!
TailwindCSS 4: Utility classes to define your styling
Storybook 9: Components Preview
Release Please: CHANGELOG.md and GitHub tags generation
Version release configuration for both the GitHub package registry and NPM registry.
Without further ado, let's dive into it 🚀
Repo setup
You can directly create a new repository by clicking the Use this template > Create a new repository button:

Then you can clone the newly generated repo and install the dependencies using pnpm install. If you don't have pnpm installed, you can always run corepack enable to activate it (only works from Node 18+). You could also use another package manager such as npm or yarn but I'd like pnpm for being faster and more efficient (:
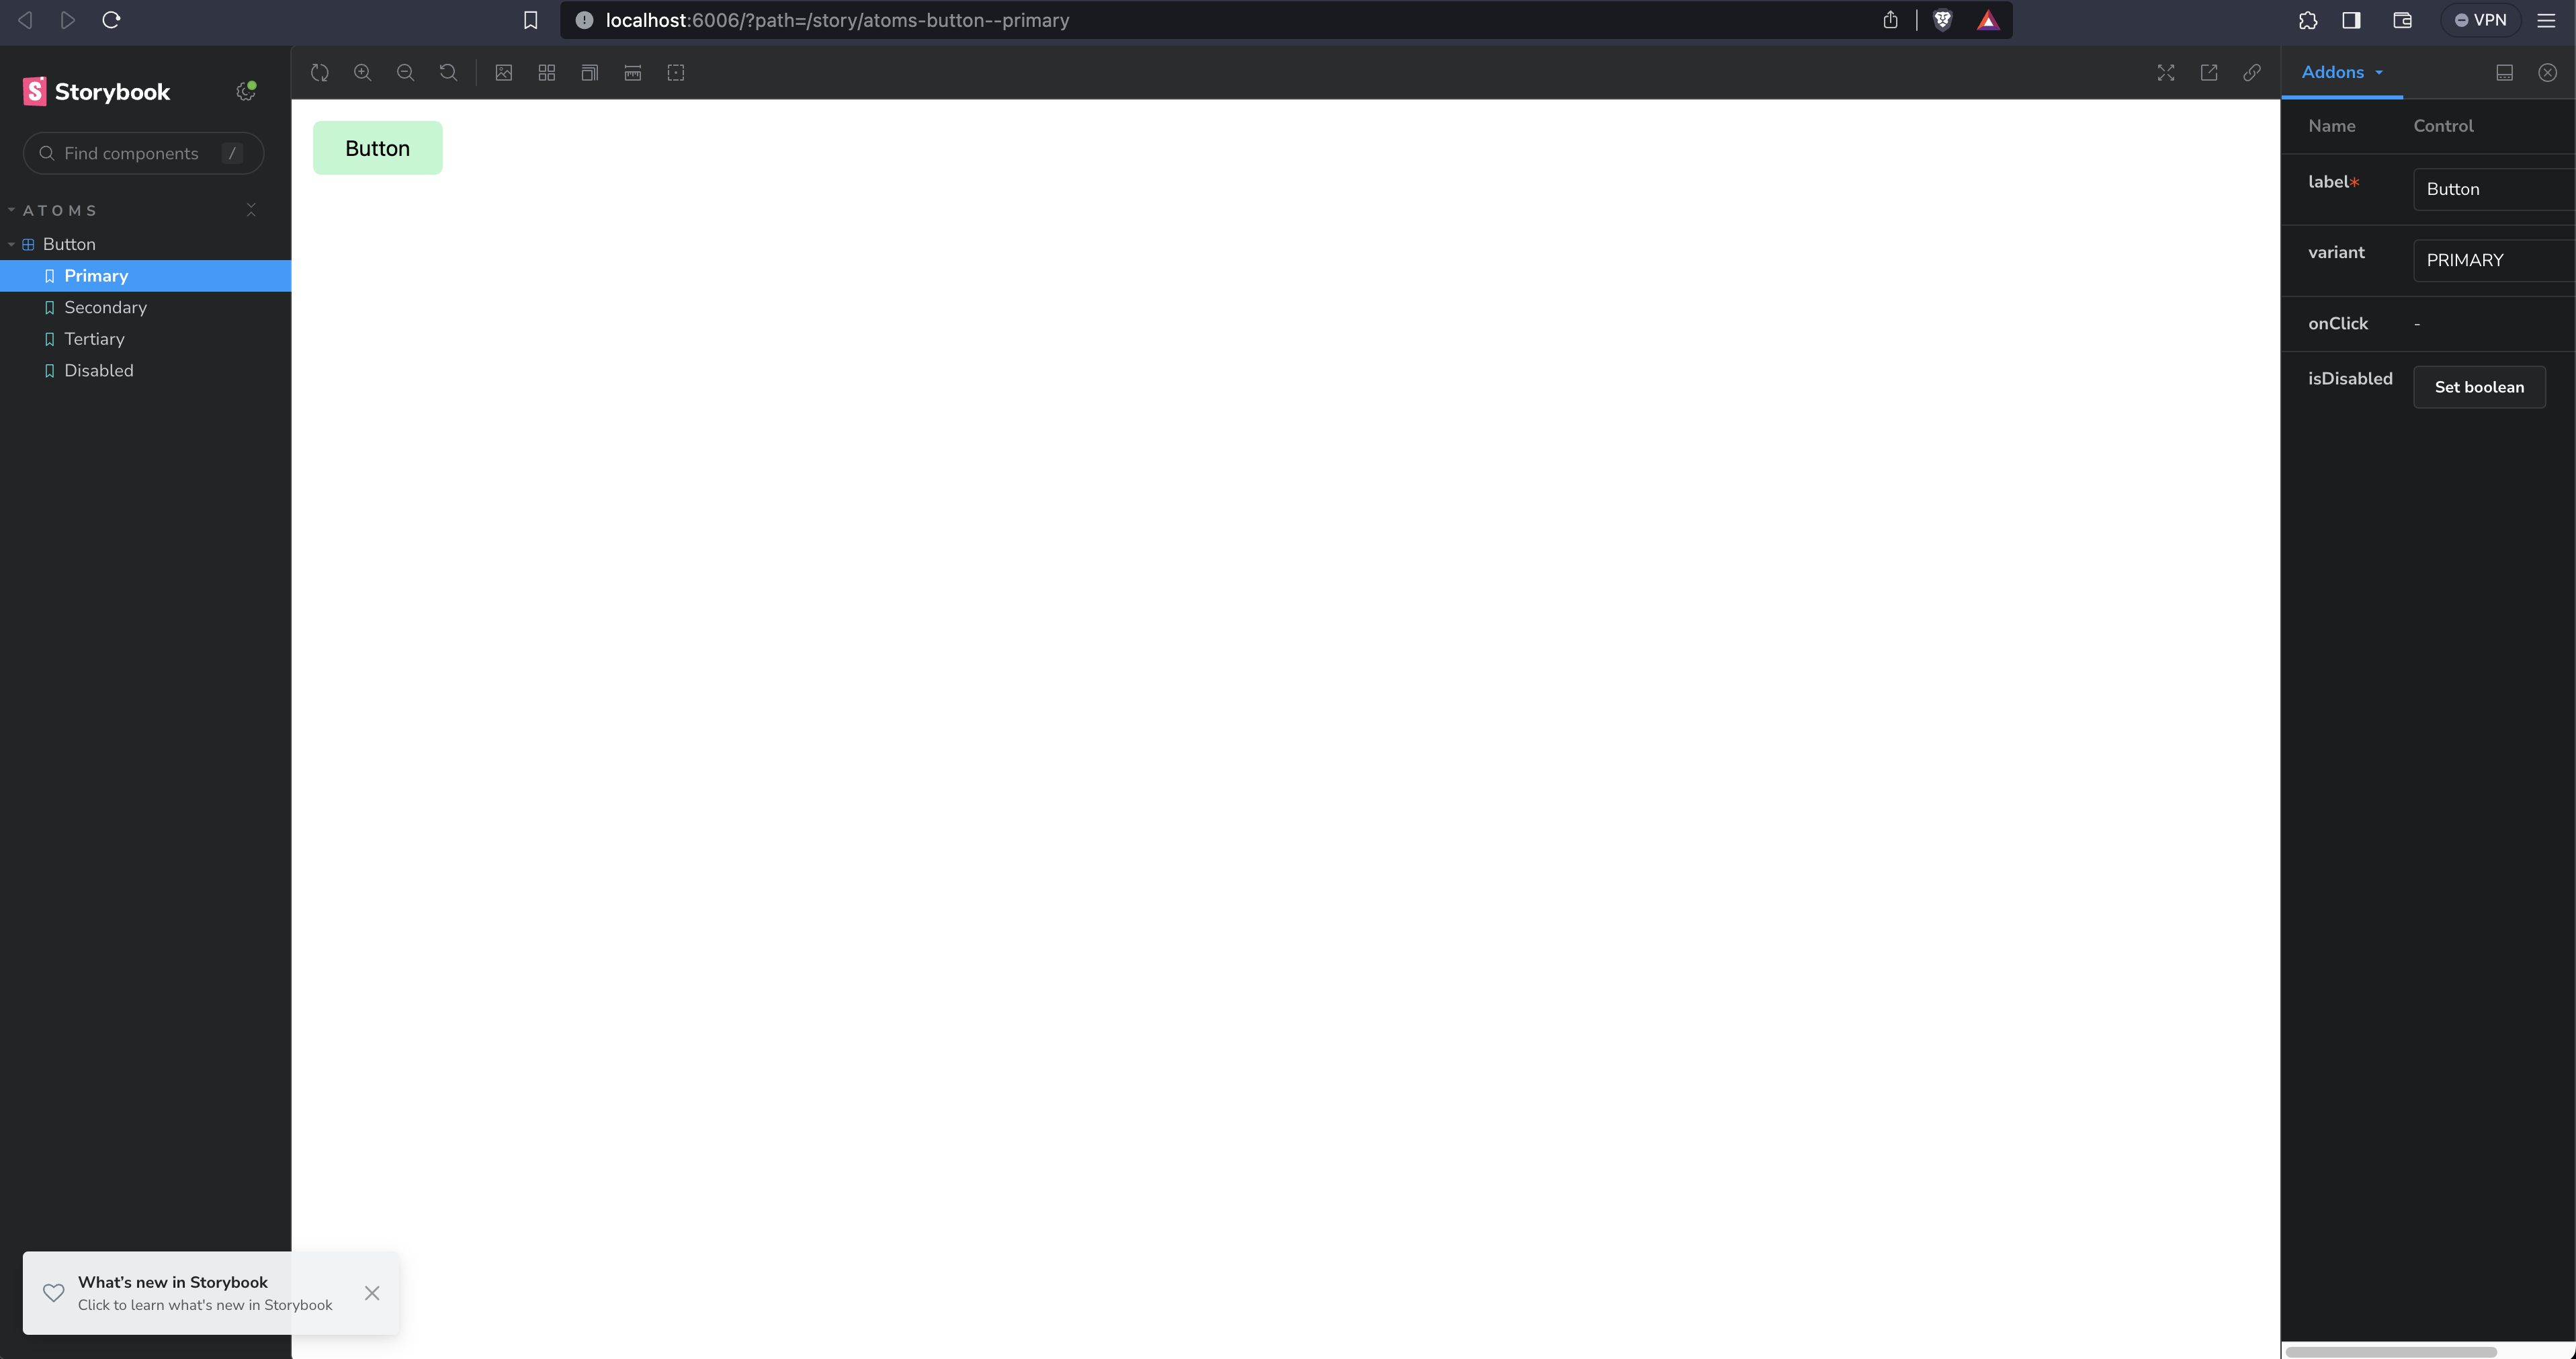
Now you're able to run all the scripts this repository comes with. For example, running pnpm dev will start the Storybook dev server with some example components. You can find the complete list of scripts in the README file or by simply taking a look at the package.json file.
Changelog update and version release
This repo uses release-please, a tool created by Google that, quotes "automates CHANGELOG generation, the creation of GitHub releases, and version bumps for your projects." unquote.
You can find the GitHub workflow that takes care of this in the .github/workflows/release-please.yml file (more specifically, the first step of the workflow that uses google-github-actions/release-please-action@v3. For it to work we first need to go to the repo's Settings tab and click on the Code and automation > Actions > General section, then scroll down to Workflow permissions and check off the Allow GitHub Actions to create and approve pull requests checkbox.
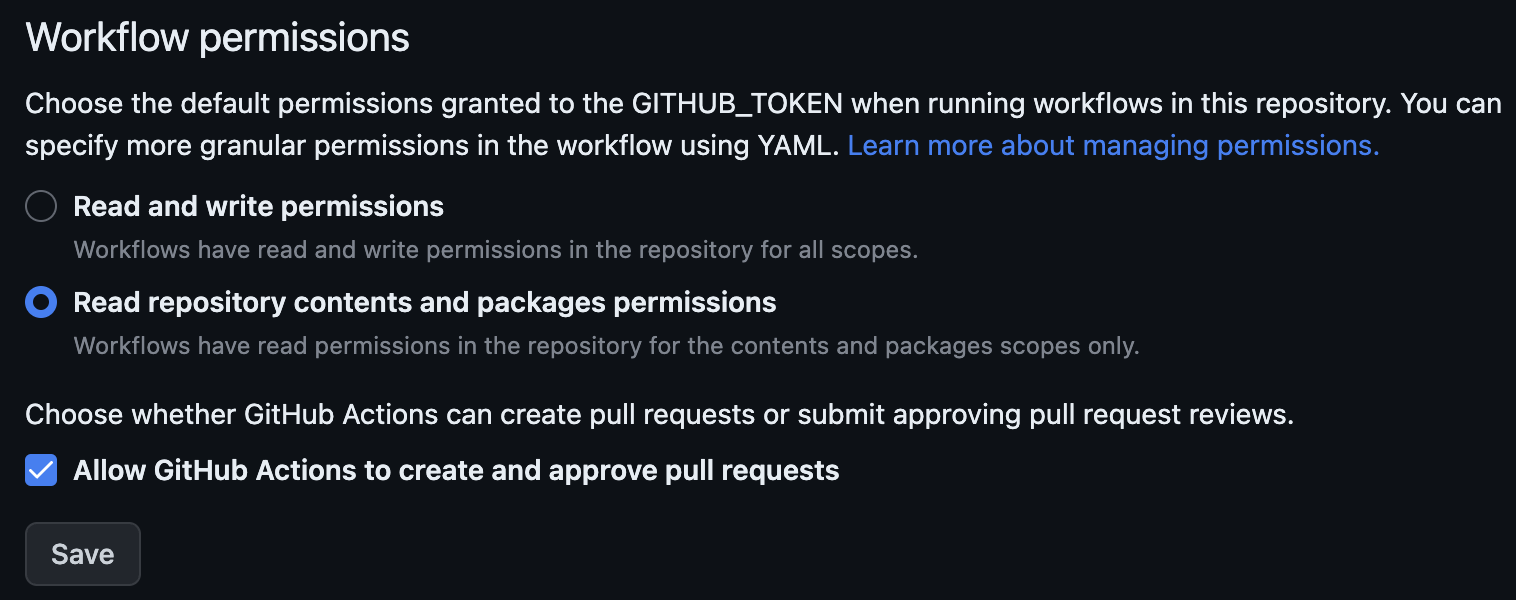
This will allow release-please to create the Pull Request against the main branch that will bump up the version, update the changelog file and finally release the GitHub tag after being merged (The PR is created by a bot so any repo administrator has to manually approve it and merge it).
Publishing the package
The repo is configured to use the NPM registry, which I will explain first. You can skip to the next section if you want to know how to do it using the GitHub package registry.
Using the NPM package registry
We simply need to get an NPM access token for our GitHub workflow to be able to publish the package to the registry and add it as a repository secret.
Log into npm and go to the Access Token tab to create a new token. I'll use a classic one for demo purposes.

You can use either the Publish or Automation type as we need the token to be able to publish new versions of our package.
Copy the value of your token and now let's open the repo's Settings tab and go to Security > Secrets and variables > Actions. Add a new repository secret called NPM_TOKEN and paste the value of your token.
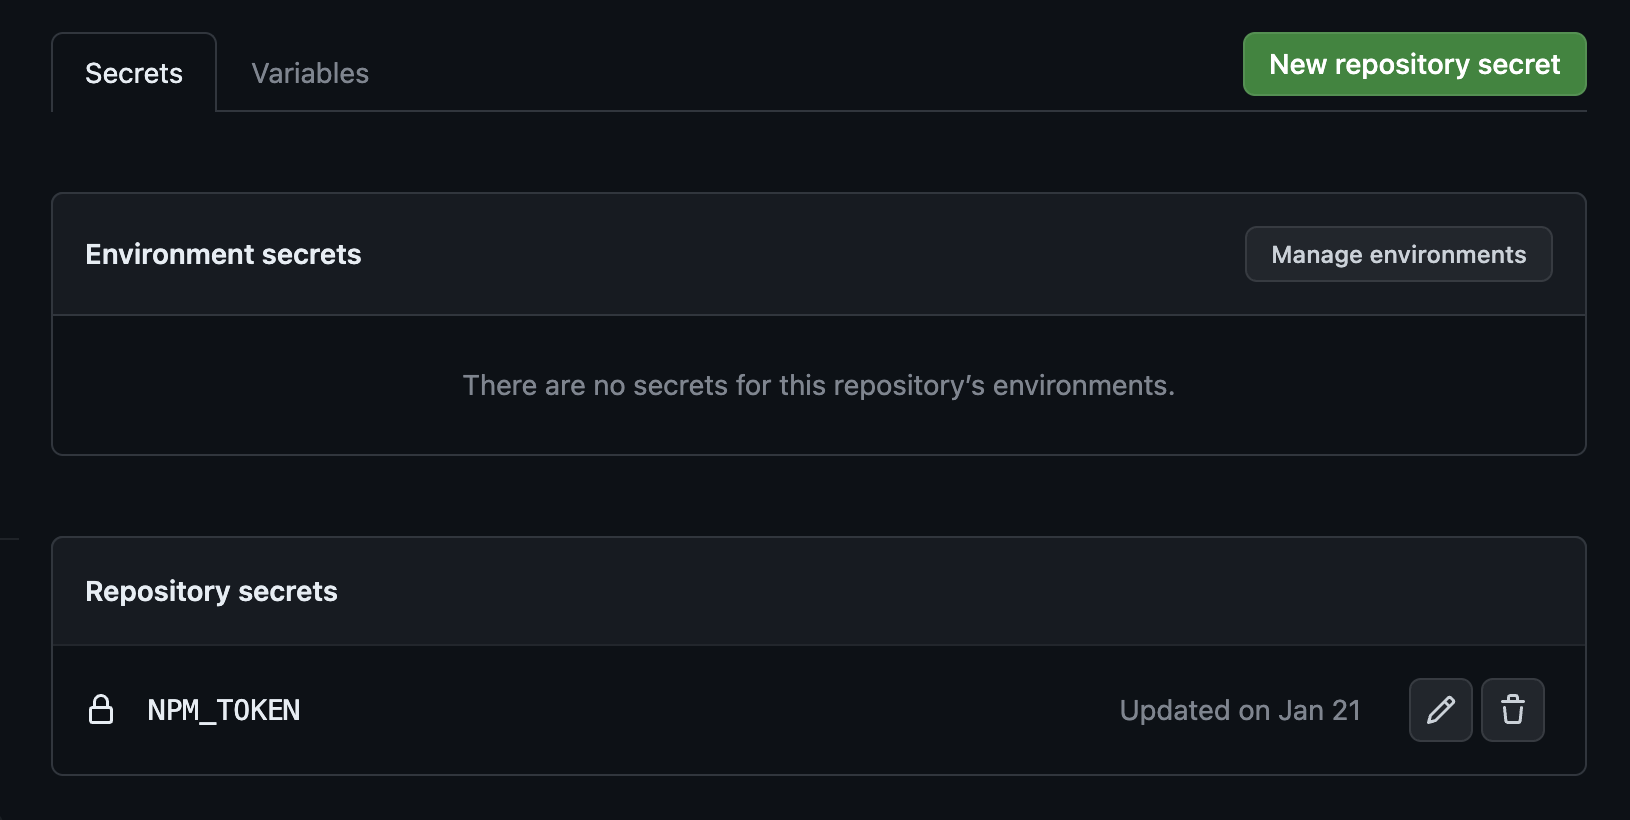
And we're done! With this, the release-please.yml workflow will be able to use this token (in line 55) to publish the package to the npm registry 🎉
Using the GitHub package registry
The configuration is pretty straightforward as we don't even need to get a new access token.
The repo has a workflow example in the .github/examples/github-release-please.yml file. It's pretty much the same as the original workflow, just including the following changes:
Adding the
packages: writepermission in line 8. This will be enough for the autogeneratedGITHUB_TOKENto have permission to publish the package to the GitHub registry during the Publish step.The registry URL is now
https://npm.pkg.github.com(line 40)We now use the existing
secrets.GITHUB_TOKENas the access token in line 57 instead of having to create another one.
Simply replacing the existing release-please.yml file with the content of the example file is enough for the workflow part.
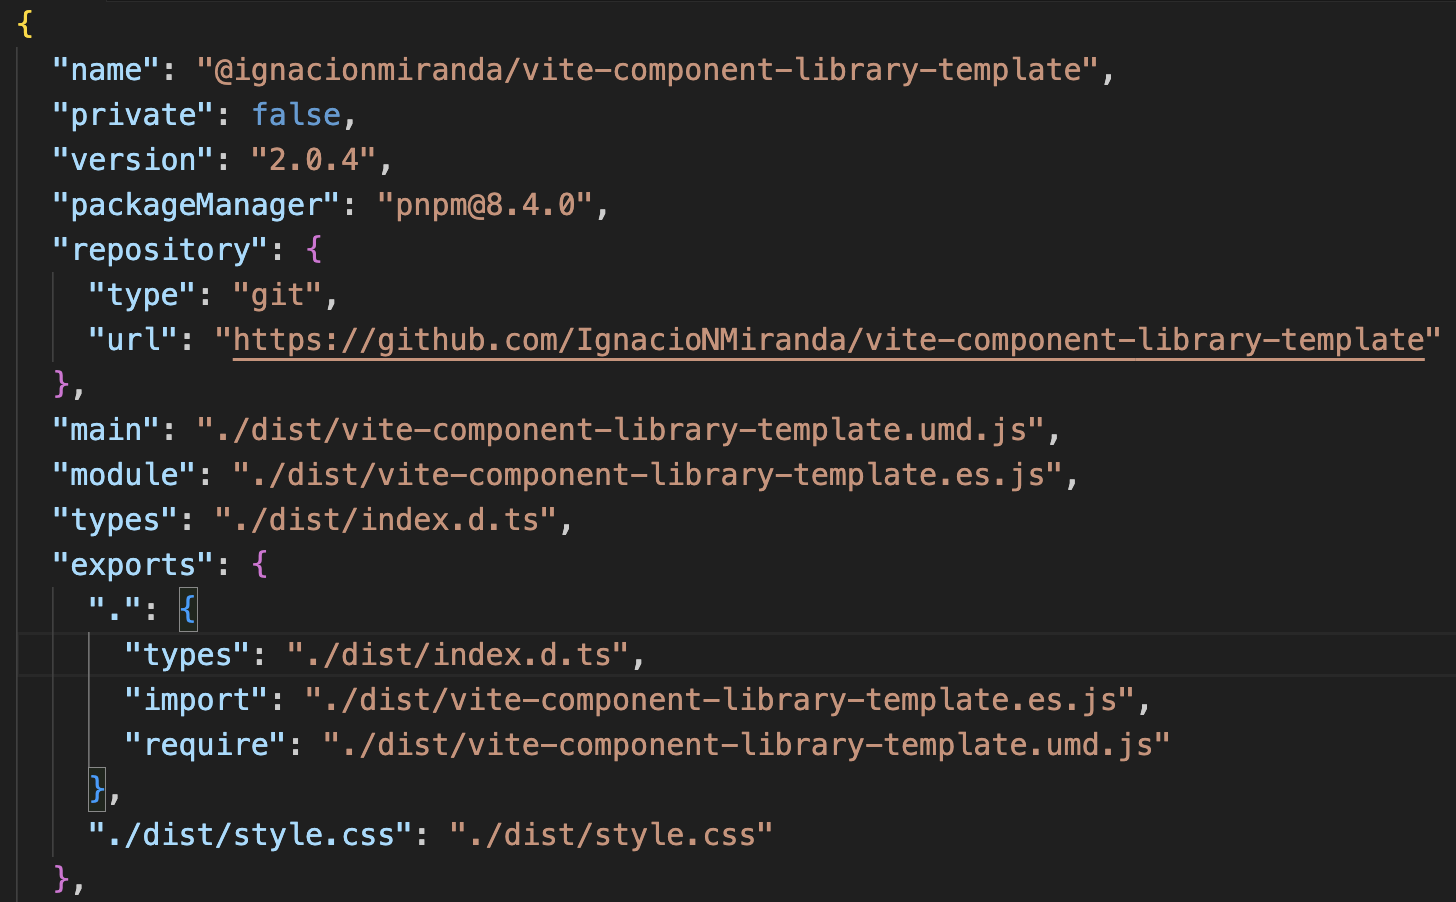
permissions key inside the yaml file, and create a new repo secret and use it in line 56. What was explained above is just the simplest way to do it.Last but not least, go to the package.json and make sure the "name" key uses the organization scope where the package will be published. For instance:
If I want to link the published package to the same vite-component-library-template repo, I'll have to change the name to `@ignacionmiranda/vite-component-library-template".
If your company is called Octocat, then the name would be "@octocat/your-library".
Finally, don't forget to update the repository.url value with the URL of your actual repo.
The above is the simplest explanation I came up with to set this up. If you want to have deeper insight, I encourage you to check the official GitHub docs about publishing Node.js packages.
Installing the library as a dependency
Using an NPM package
If your package is public, great! then you can simply go to your frontend application and run pnpm i <your-library> and start using it.
If your package is private, you'll need to log in using the npm cli or a .npmrc file passing your token along with the npm registry and be invited to the npm organization that publishes the package. Here you can find some official docs about private NPM packages.
Using a GitHub package
We need some additional steps if we use this approach, but nothing crazy (:
Inside your frontend app, you'll need to create a .npmrc file in the root of the project with the following content:
# The first section is your user name or organization name in a
# kebab-case format.

# If my username is IgnacioNMiranda, then the first line should be:
# @ignacionmiranda:registry=https://npm.pkg.github.com
@<your-org-or-user>:registry=https://npm.pkg.github.com
//npm.pkg.github.com/:_authToken=${GITHUB_TOKEN}
and then add the GITHUB_TOKEN variable to your .env file:
export GITHUB_TOKEN=<your-token>
The token has to be a personal access token, created with at least the read:packages permission in order to download packages from the GitHub Package Registry.
After running source .env or using your preferred tool to load env vars from a .env file into the current console instance, you should be able to install your GitHub package. For example, if the package is called @ignacionmiranda/vite-component-library the command we have to run is: pnpm i @ignacionmiranda/vite-component-library.
Using the library
Here are some examples of how to use the styles of the library and a React component in a Next.js application.
/* _app.tsx for pages router, or layout.tsx for App router  */
import '<your-library>/styles.css'
// More imports and your App component ...
/* page.tsx */
import { AtButton } from '<your-library>'
// More imports and your Page component...
Extra: Testing the library in a frontend app locally
There are some times when we want to test the components we're building without having to publish canary, alpha, beta, or whatever versions to the registry. In order to do it we can follow these steps:
Run
pnpm build:libto build the component library and get the output in the dist folder.Run
pnpm packto create a .tgz file. This has the same content as the dist folder and will allow us to install the library in our frontend app locally.
🚨 Right now, the pack command deletes the 'dependencies' and 'devDependencies' keys from the package.json because of the prepack command. As the pack command is normally run during the publish step in the GitHub workflow, it's not intended to be run locally, i.e. to delete these keys from the package.json. Make sure you revert this change after pushing any new commit to your repo.Go to your frontend app and add your library as a dependency in the package.json. Instead of setting the version, add the path to the .tgz file. For instance:
"vite-component-library-template": "../../vite-component-library-template/vite-component-library-template-2.0.4.tgz".Install the deps in your frontend app. Now you should be able to see the local changes you did in the library and use them in your local development for the frontend app.
Wrapping Up
Now we're capable of setting up a repository that contains a component library, following semantic versioning, being published to a package registry and using it in a frontend application. Hope this is useful and provides an easy explanation of how to set up this kind of application (: it can get really hard to make everything work together, becoming a real mess with all the config code and files. Feel free to create an issue in the repo if you have difficulties with something or if you just want to make recommendations to continue improving it! You can also ping me on Linkedin if you need help with anything else (:
Happy coding!
About the author
- Software engineer exploring the intersection of technology, AI, and the people who build it. This blog is where I share practical lessons, engineering insights, and ideas that make software a little simpler—and a little more human.
Comments
Join the discussionHi all! Thanks for the incredible support this template has received so far! I decided to give it some love so I updated a lot of dependencies and packages, making it ready to use with a more modern ecosystem.
Some of the most important changes are: Storybook 9, Tailwindcss 4, and changing Eslint & Prettier by Biome, a really good alternative for linting and formatting.
Let's continue building amazing stuff!
A day ago i faced a troubling experience with Pocket Option, a trading platform I had been using. My account, which held over $7,000, was suddenly blocked by the platform. This issue arose after I requested a withdrawal, and Pocket Option claimed that I had multiple accounts. Despite my protests, I only ever used the one account. when I deposited funds into the account, there were no issues. The platform accepted the deposits without any hesitation. However, everything changed when I tried to withdraw my balance. It was at this crucial moment that Pocket Option decided to block my account, effectively freezing my funds and denying me access to my money. This situation was not only frustrating but also deeply concerning. I suspected that I had fallen victim to a scam. The timing of the account blocking—right after my withdrawal request—was too coincidental to ignore. It became evident that the platform's actions were suspicious, and my concerns were further validated by my research into similar cases faced by other users. Determined to recover my funds, I began searching for assistance. My research led me to a company named Hack Buster Recovery. They came highly recommended and had a track record of helping people in situations similar to mine. Skeptical but hopeful, I decided to reach out to them for help. The team at Hack Buster Recovery was professional and responsive. They thoroughly reviewed my case and began the process of recovering my funds. Their expertise and dedication were apparent throughout the process. They communicated clearly, keeping me informed about the progress and the steps they were taking to resolve the issue. Thanks to their efforts, I was able to recover my unrealized losses from Pocket Option. The experience with Hack Buster Recovery was reassuring and effective, providing me with the support I needed during a stressful time. Their assistance was invaluable in navigating the complexities of the situation and ensuring that I regained access to my money. This experience serves as a reminder of the importance of being cautious when dealing with online trading platforms. It's crucial to choose platforms with a good reputation and to be aware of potential red flags. Additionally, seeking professional help, like that offered by Hack Buster Recovery, can be crucial in recovering funds and resolving issues effectively. while my encounter with Pocket Option was troubling, the support I received from Hack Buster Recovery made a significant difference. Their expertise helped me recover my funds and provided me with much-needed resolution. I am grateful for their assistance and would recommend their services to anyone facing similar challenges.
EMAIL: hackbusterrecovery(@)webname. com WHATSAPP: +1 (330) 934-2057
Hello! True Fortune Casino Australia has become my favorite place to play online thanks to their generous welcome offer of 100% up to €300 plus 60 free spins. This bonus allowed me to start playing with confidence and additional opportunities to win. Each slot at this casino is a real work of art, and their interface is so user-friendly that it becomes even more enjoyable to play. Thanks to the bonus, I was able to plunge into the world of excitement and enjoy every moment. If you want to get the most out of your gambling experience and win, you should definitely try True Fortune Casino!
Thanks so much Igna for providing such a headstart for building a component library! I'm so far only encountering an issue with the build:lib script generating only .d.ts files. And therefore i'm not able to use the library components in a different project as is suggested. I'm trying to figure it out tweaking the vite.config.js. Will be happy to contribute suggestions to improve de user guides once i get the full hang of it. Thanks again!
Hey Vincent! Thanks so much! and I'm sorry you're running into this issue. Aren't you getting the JS files generated in your build? that's basically where all the components get added and then everything can be imported from there in any project
I'm trying to publish my first library and this was really helpful! Thank you!